If you’re looking for a delightful cookie that melts in your mouth, Russian tea cookies are the way to go! These little bites of heaven are perfect for any occasion, whether it’s a cozy family gathering or a festive holiday party. Let’s dive into everything you need to know about making these delicious treats, from the ingredients to the baking process, and even some fun variations!
What Are Russian Tea Cookies?
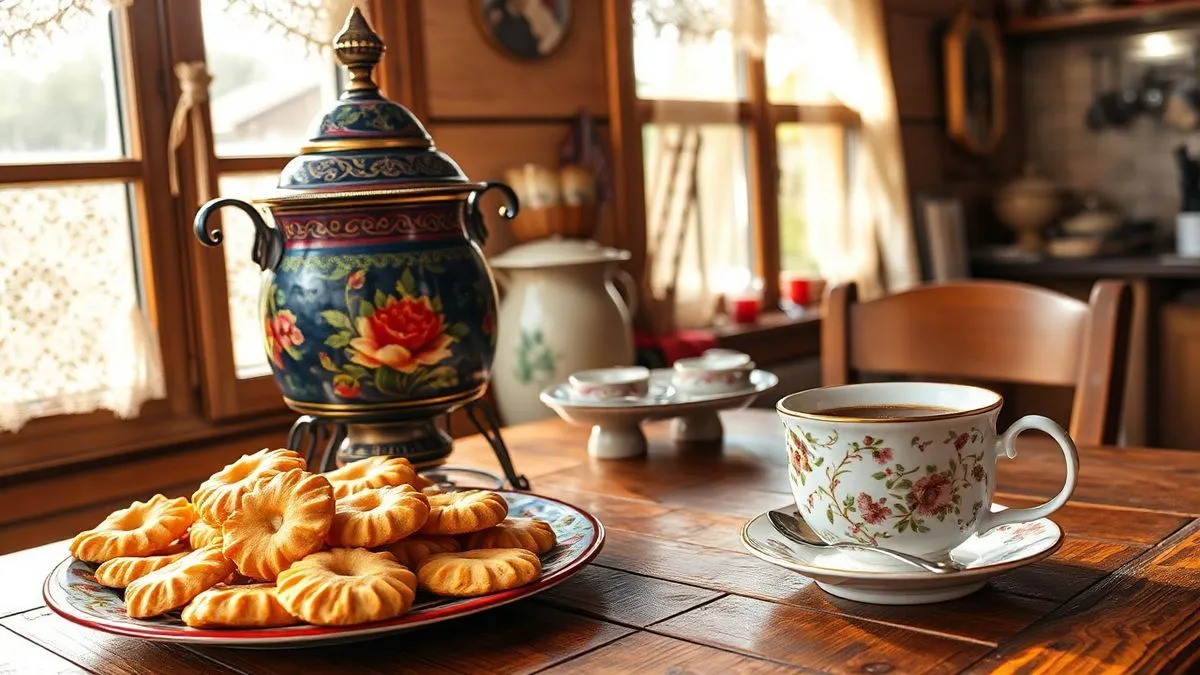
Russian tea cookies, also known as snowball cookies or Mexican wedding cookies, are buttery, nutty, and rolled in powdered sugar. They’re called “tea cookies” because they pair perfectly with a warm cup of tea. The best part? They’re super easy to make and require just a handful of ingredients!
Ingredients You’ll Need
To whip up a batch of these cookies, you’ll need the following halal ingredients:
- 1 cup unsalted butter (softened)
- 1/2 cup powdered sugar (plus more for rolling)
- 1 teaspoon vanilla extract
- 2 cups all-purpose flour
- 1/2 cup finely chopped nuts (like walnuts or pecans)
- 1/4 teaspoon salt
Tips for Choosing Ingredients
- Butter: Make sure it’s softened to room temperature for easy mixing.
- Nuts: You can use any nuts you like, but walnuts and pecans are traditional. Just chop them finely so they blend well into the dough.
- Powdered Sugar: This is what gives the cookies their signature snowy look, so don’t skimp on it!
Step-by-Step Instructions
1. Preheat Your Oven
Start by preheating your oven to 350°F (175°C). This ensures your cookies bake evenly.
2. Cream the Butter and Sugar
In a large mixing bowl, cream together the softened butter and 1/2 cup of powdered sugar until it’s light and fluffy. This usually takes about 2-3 minutes. You can use a hand mixer or just a good old wooden spoon if you’re feeling nostalgic!
3. Add Vanilla and Mix
Next, stir in the vanilla extract. This adds a lovely flavor that complements the buttery goodness of the cookies.
4. Combine Dry Ingredients
In another bowl, whisk together the flour, salt, and chopped nuts. Gradually add this mixture to the butter mixture, stirring until everything is well combined. The dough will be a bit crumbly, but that’s okay!
5. Shape the Cookies
Using your hands, roll the dough into small balls, about 1 inch in diameter. Place them on a baking sheet lined with parchment paper, leaving some space between each cookie.
6. Bake
Pop the baking sheet in the oven and bake for about 10-12 minutes, or until the bottoms are lightly golden. The tops should remain pale.
7. Roll in Powdered Sugar
Once the cookies are out of the oven, let them cool for a few minutes. While they’re still warm, roll them in powdered sugar. This gives them that classic snowy appearance!
8. Cool Completely
Let the cookies cool completely on a wire rack. Once they’re cool, you can roll them in powdered sugar again if you want an extra sweet touch!
Variations to Try
While the classic Russian tea cookie is delicious on its own, here are a few fun variations to mix things up:
Chocolate Russian Tea Cookies
Add 1/4 cup of cocoa powder to the flour mixture for a chocolatey twist. You can also fold in some chocolate chips for extra indulgence!
Coconut Russian Tea Cookies
Mix in 1/2 cup of shredded coconut to the dough for a tropical flavor. Roll the cookies in powdered sugar mixed with a bit of coconut for a fun finish.
Spiced Russian Tea Cookies
Add a pinch of cinnamon or nutmeg to the dough for a warm, spiced flavor that’s perfect for the holidays.
Storing Your Cookies
Once you’ve baked and cooled your cookies, you’ll want to store them properly to keep them fresh. Here’s how:
- Room Temperature: Store the cookies in an airtight container at room temperature for up to a week.
- Freezing: You can freeze the cookies for up to three months. Just make sure to layer them with parchment paper in an airtight container to prevent sticking.
FAQs About Russian Tea Cookies
Can I make these cookies gluten-free?
Absolutely! You can substitute all-purpose flour with a gluten-free flour blend. Just make sure it’s a 1:1 ratio for best results.
What can I use instead of nuts?
If you have nut allergies or just prefer not to use them, you can leave them out entirely or replace them with seeds like sunflower seeds or pumpkin seeds.
How do I know when the cookies are done?
The bottoms should be lightly golden, and the tops should look set but not browned.